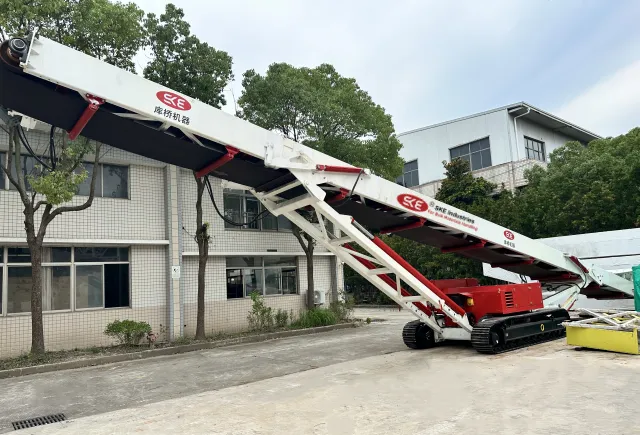
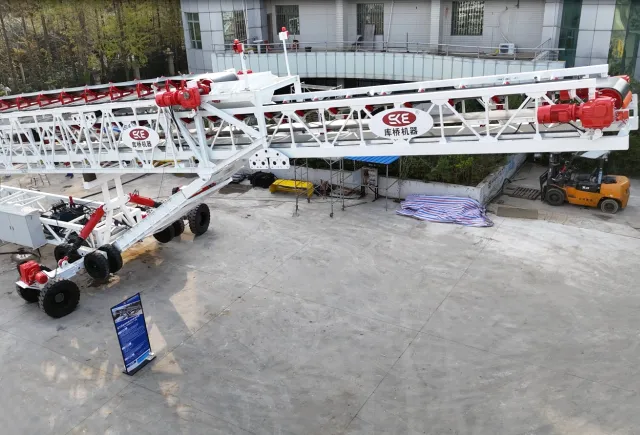
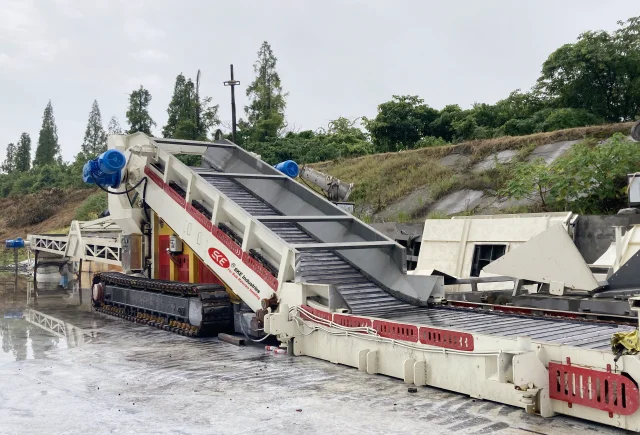
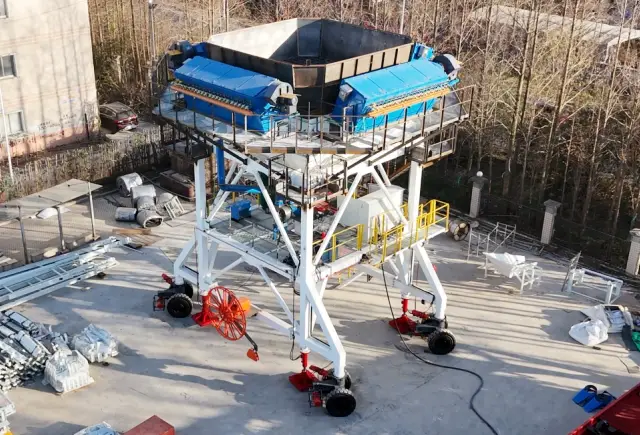
Stacker, Ship Loader, Eco Hopper, Reclaimer, Truck Unloader, Belt Conveyor Manufacturer
Pubdate:05-19-2022 Views:2581
1. conveyor idlers or pulleys out-of square with center line of belt:
readjust idlers in affected area.
2. belt conveyor frame or structure crooked:
straighten in affected area.
3. Idler stands not centered on belt:
readjust idlers in affected area.
4. Sticking idlers:
free idlers and improve maintenance and lubrication.
5. Build-up of material on idlers:
remove accumulation; improve maintenance. Install belt scrapers(belt cleaners) or other cleaning devices.
6. Belt not joined squarely:
remove affected splice and re-splice.
7. Bowed belt:
for new belt this condition should disappear during break-in; in rare instances belt must be straightened or replaced; check storage and handling of belt rolls.
8. Off-center loading or poor loading:
adjust chute to place load on center of belt; discharge material in direction of belt travel at or near belt speed.
9. Slippage on drive pulley:
increase tension through screw take-up or add counterweight; lag drive pulley of conveyor; increase arc of contact.
10. Material spillage and build-up:
improve loading and transfer conditions; install cleaning devices; improve maintenance.
11. Bolt heads protruding above lagging:
tighten bolts; replace lagging; use vulcanized-on lagging.
12 Tension too high:
increase speed, same tonnage, same speed; reduce friction with better maintenance and replacement of damaged idlers; decrease tension by increasing arc of contact or go to lagged pulley; reduce CWT to minimum amount.
13. Skirt boards improperly adjusted or of wrong material:
adjust skirt board supports to minimum 1" between metal and belt with gap increasing in direction of belt travel; use skirt board rubber (not old belt).
14. Load jams in chute:
redesign chute for proper angle and width.
15. Material hanging up in or under chute:
improve loading to reduce spillage; install baffles; widen chute.
16. Impact of material on belt:
reduce impact by improving chute design; install impact idlers or impact bed.
17. Material trapped between belt and pulley:
install plows or scrapers on return run ahead of tail pulley of conveyor.
18. Belt edges folding up on structure:
same corrections as for 1, 2, 3; install limit switches; provide more clearance.
19. Dirty, stuck, or misaligned return rolls:
remove accumulations; install cleaning devices; use self-cleaning return rolls; improve maintenance and lubrication.
20. Cover quality too low:
replace with belt of heavier cover gauge or higher quality rubber or other elastomer.
21. Spilled oil or grease/over-lubrication of idlers:
improve housekeeping; reduce quantity of grease used; check grease seals
22. Wrong type of fastener, fasteners too tight or too loose:
use proper fastener and splice technique; set up schedule for regular fastener inspection.
23. Heat or chemical damage:
use belt designed for specific condition.
24. Fastener plates too long for pulley size:
replace with smaller fasteners; increase pulley size.
25. Improper transition between troughed belt and terminal pulleys:
adjust transition in accordance with CEMA standards and SKE Belting Catalogs.
26. Severe convex (hump) vertical curve:
decrease idler spacing in curve; increase curve radius.
27. Excessive forward tilt of trough rolls:
reduce forward tilt of idlers to no more than 2° from vertical.
28. Excess gap between idler rolls:
replace idlers; replace with heavier belt.
29. Insufficient transverse stiffness:
replace with the proper belt.
30. Pulleys too small:
use larger diameter pulleys.
31. Counterweight too light:
add counterweight or increase screw take-up tension to value determined from calculations.
32. Counterweight too heavy:
lighten counterweight to value required by calculations.
33. pulley lagging worn:
replace pulley lagging.
34. Insufficient traction between belt and pulley:
lag drive pulley; increase belt wrap; install belt cleaning devices.
35. System under belted:
recalculate belt tensions and select proper belt.
36. Excessive sag between idlers causing load to work and shuffle on belt as it passes over idlers:
increase tension if unnecessarily low; reduce idler spacing.
37. Improper storage or handling:
refer to SKE for proper storage or handling instructions.
38. Belt improperly spliced:
re-splice using proper method as recommended by SKE.
39. Belt running off-center around the tail pulley and through the loading area:
install training idlers on the return run prior to tail pulley.
40. Belt hitting structure:
install training idlers on carrying and return run.
41. Improper belt installation causing apparent excessive belt stretch:
pull belt through counterweight with a tension equal to at least empty running tension; run belt in with mechanical fasteners.
42. Improper initial positioning of counterweight in its carriage causing apparent excessive belt stretch:
check with SKE for recommended initial position.
43. Insufficient counterweight travel:
consult SKE for recommended minimum distances.
44. Structure not level:
level structure in affected area.
45. Cover cuts or very small cover punctures allow fines to work under cover and cut cover away from carcass:
make spot repair with vulcanizer or self-curing repair material.
46. Worn edge:
"press" edge.
47. Interference from belt scrapers:
adjust belt scrapers.
48. Tension too high for fasteners:
use vulcanized splice.
49. Belt carcass too light:
select stronger carcass.
50. Belt misalignment:
see training recommendations.
51. Variations in nature and formation of load:
use notched chute to keep load peak in exact center of belt.
52. Belt not making good contact with all idlers:
adjust height so all idlers contact belt.
53. Sharp edges of material or tramp iron coming in contact with cover:
use jingle bars, impact idlers, and magnetic removal equipment.